
Editing photos to look like the iconic Marilyn Diptych portrait
While social distancing because of COVID-19 I decided it was a good time to brush up on my photoshop skills. Creating Marilyn Diptych photos was surprisingly similar to colorizing old black and white photos. This made the whole process incredibly easy.
For starters you need a photo with no background. I took a photo of myself and used the quick selection tool to select my body. I then used the select and mask button to remove everything. I then saved a photo of myself with no background. After this I needed to create contrast in the photo. I went to the Image menu, then selected threshold. I played with the levels until I found a look that I liked. In order to get the colors I googled Andy Warhol Marilyn and used the eye dropper to pick my colors off of an image. When you apply the colors to your image you need to make a new layer for everything you are coloring. For example mine has a layer for my hair, skin, eyes, lips, and skirt. Make sure for your color blending you select multiply and keep the opacity at 100%. The brush your selected color over the areas you want to be that color.
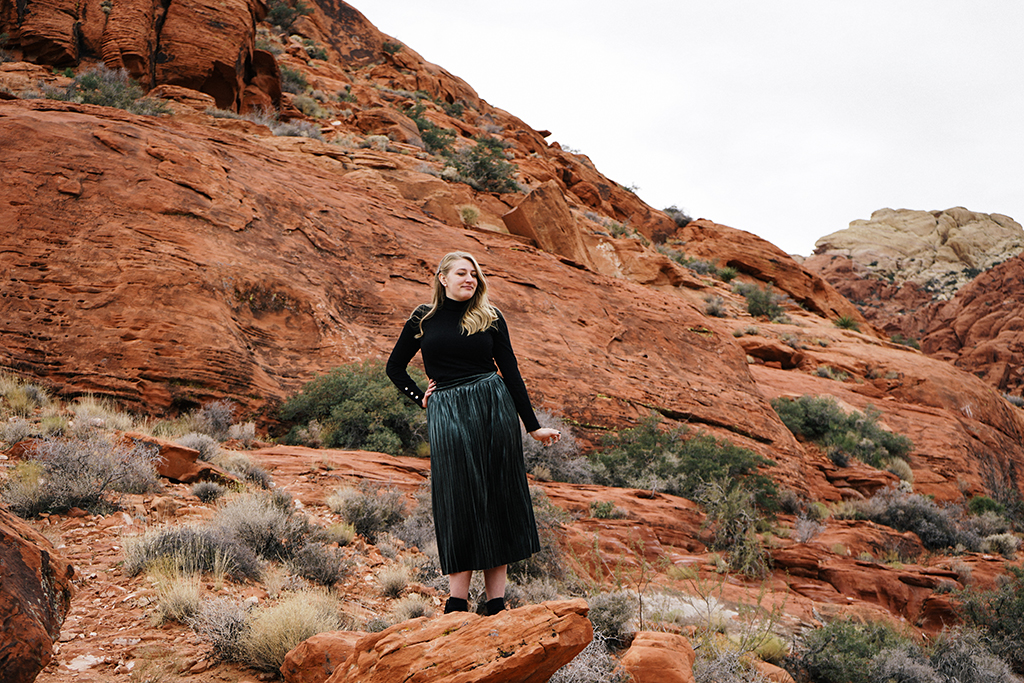
Here’s my original unedited photo.
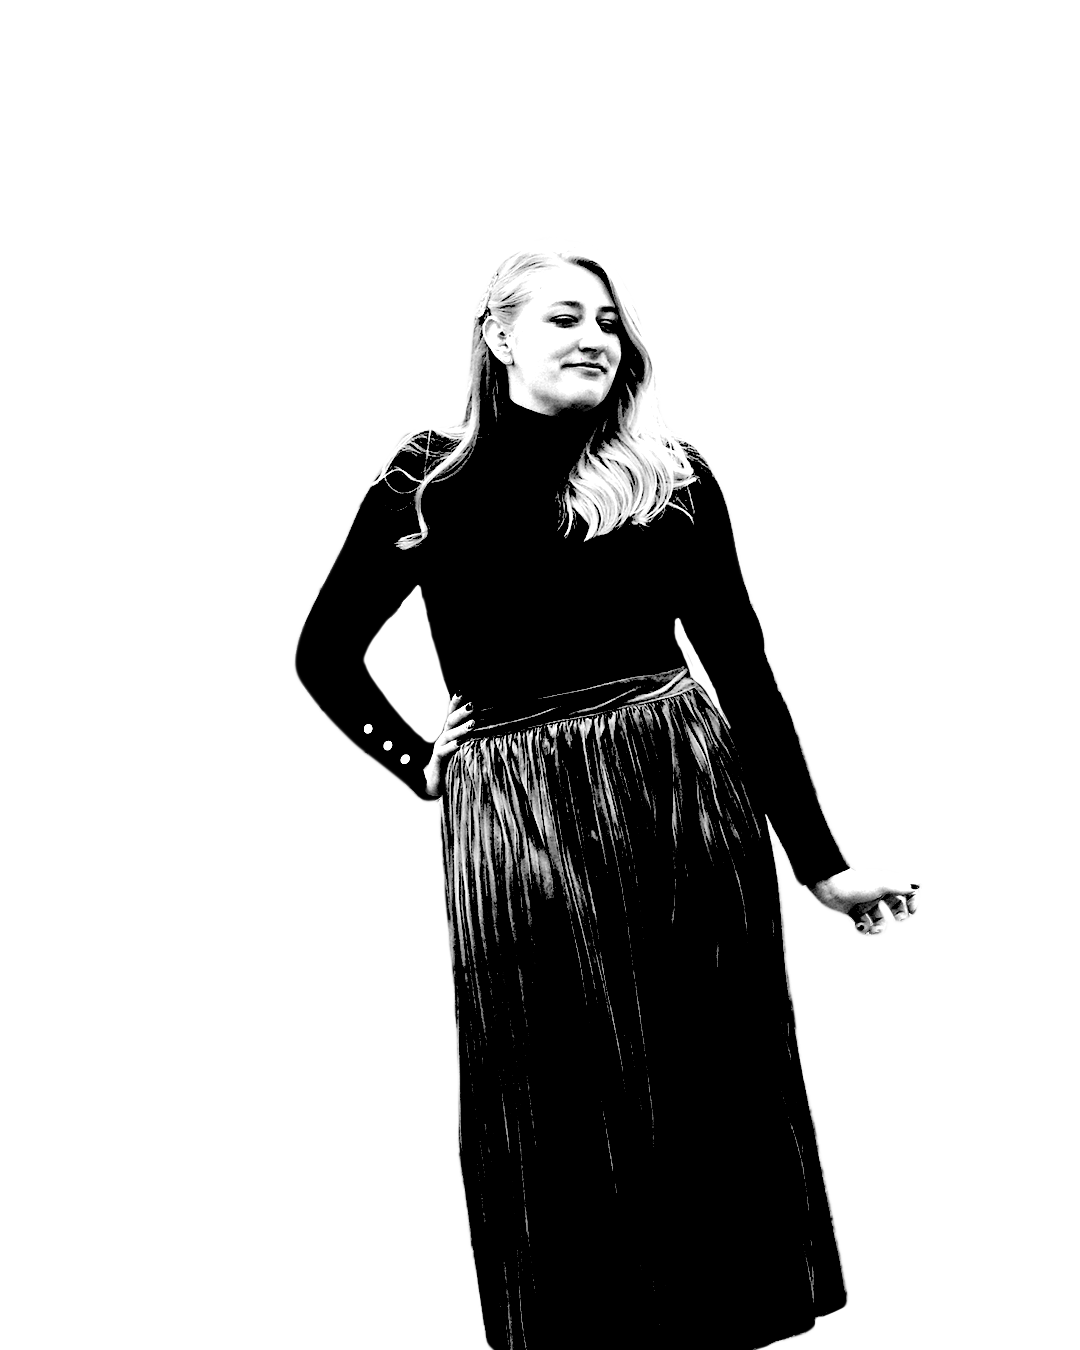
Here is my photo with the background removed and the image threshold applied.
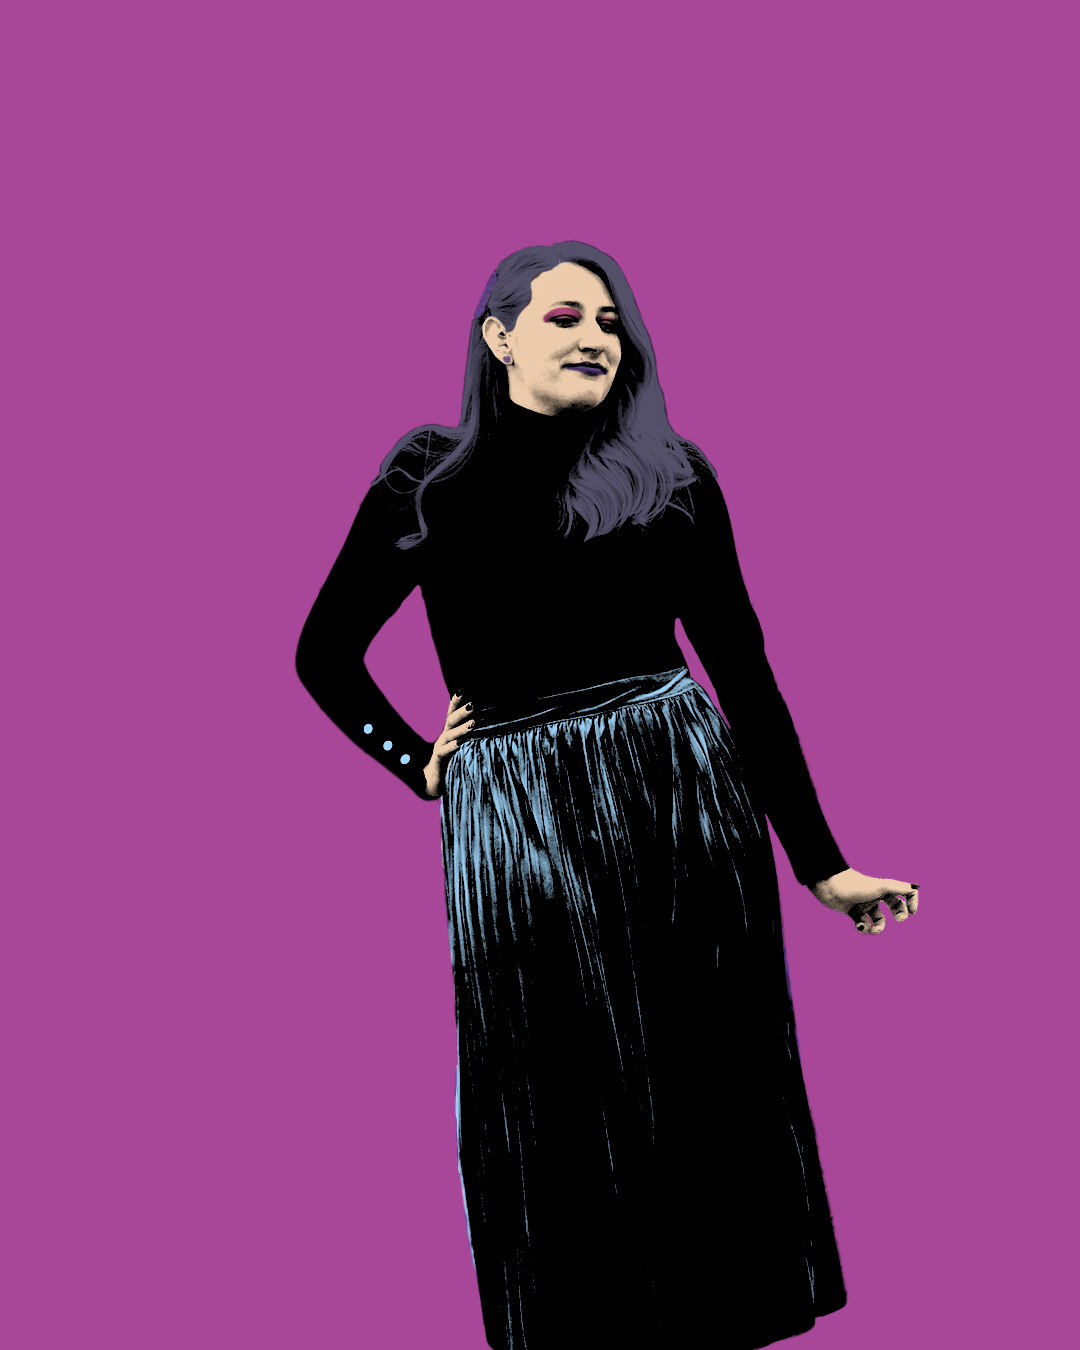
Here is the final result.
Another method that looks really cool is if you edit the image threshold (so everything is in black and white) and just put a solid color background. I made a poster like this for a game we were playing at my friends bachelorette party!